
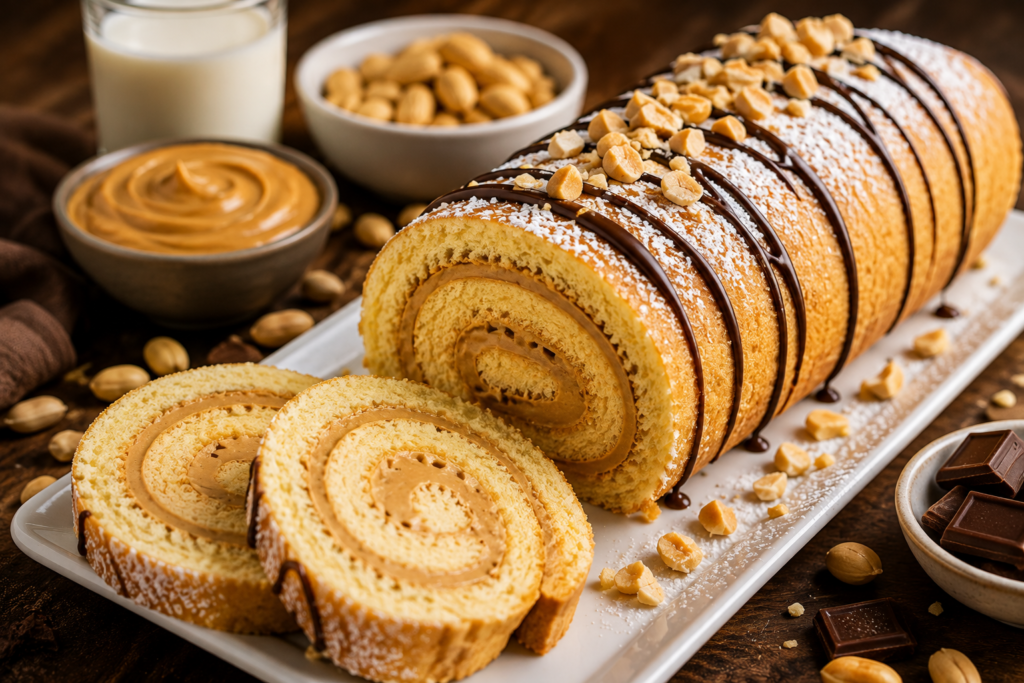
Welcome to a dessert that’s soft, nutty, creamy, and incredibly satisfying! This Peanut Butter Roll Cake Recipe combines a light and fluffy sponge cake with rich peanut butter filling, creating a beautiful rolled dessert that’s perfect for family gatherings, afternoon treats, birthdays, or whenever a peanut butter craving strikes.
Don’t let the rolled shape intimidate you. With the right baking time and a little patience while rolling the warm cake, you can create a soft cake that holds its shape without cracking. The combination of tender vanilla sponge and creamy peanut butter makes every slice taste like a more elegant version of a classic peanut butter dessert.
Recipe Overview
- Category: Dessert
- Cuisine: American
- Servings: 10 slices
- Prep Time: 25 minutes
- Cook Time: 12–15 minutes
- Cooling Time: 30 minutes
- Total Time: About 1 hour 10 minutes
- Calories: Approximately 340 calories per slice
Why You’ll Love This Peanut Butter Roll Cake Recipe
This homemade roll cake is soft, creamy, and packed with classic peanut butter flavor.
- Soft and fluffy sponge cake
- Rich and creamy peanut butter filling
- Beautiful presentation when sliced
- Perfect for holidays and celebrations
- Great with coffee or milk
- Easy to customize with chocolate
- Can be prepared ahead of time
- A delicious dessert for peanut butter lovers
What Is a Peanut Butter Roll Cake?
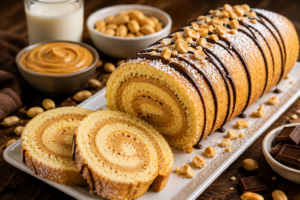
A Peanut Butter Roll Cake is a light sponge cake that’s baked in a thin sheet, spread with a creamy peanut butter filling, and carefully rolled into a log. Once chilled, it’s sliced into beautiful spirals that reveal the layers of cake and filling.
The thin sponge makes the cake flexible enough to roll, while the creamy peanut butter filling provides a rich contrast to its light texture. Some versions also include chocolate, powdered sugar, whipped cream, or chopped peanuts for extra flavor and decoration.
Ingredients
You will need the following ingredients to make this soft and creamy peanut butter roll cake.
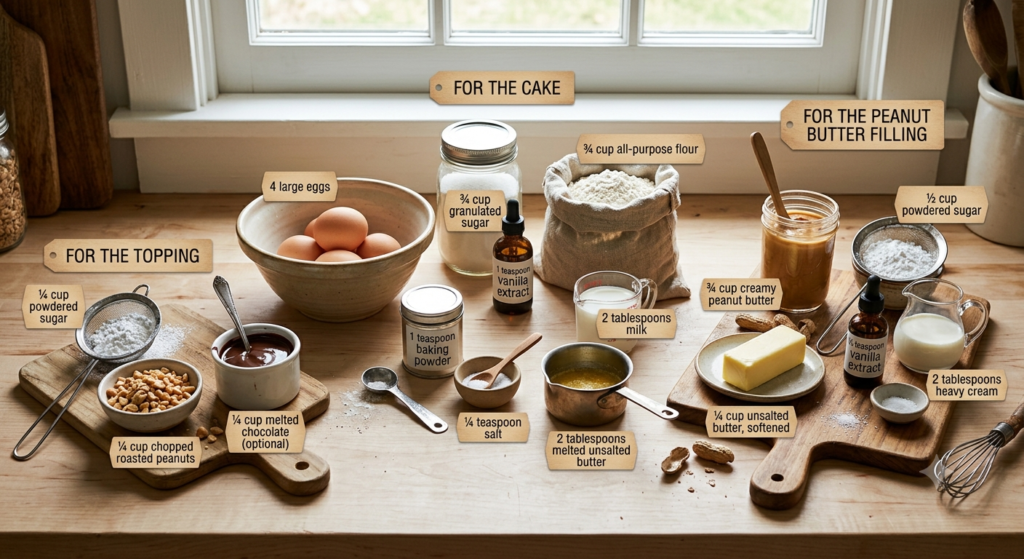
For the Cake
- 4 large eggs
- ¾ cup granulated sugar
- 1 teaspoon vanilla extract
- ¾ cup all-purpose flour
- 1 teaspoon baking powder
- ¼ teaspoon salt
- 2 tablespoons milk
- 2 tablespoons melted unsalted butter
For the Peanut Butter Filling
- ¾ cup creamy peanut butter
- ½ cup powdered sugar
- ¼ cup unsalted butter, softened
- ½ teaspoon vanilla extract
- 2 tablespoons heavy cream or milk
- Pinch of salt
For the Topping
- ¼ cup powdered sugar
- ¼ cup chopped roasted peanuts
- ¼ cup melted chocolate, optional
Kitchen Equipment
You’ll need:
- 10×15-inch jelly roll pan
- Parchment paper
- Large mixing bowls
- Electric mixer
- Fine-mesh sieve
- Rubber spatula
- Clean kitchen towel
- Wire cooling rack
- Offset spatula
- Serrated knife
Recipe Video Guide
How to Make Peanut Butter Roll Cake Recipe
Step 1: Prepare the Baking Pan
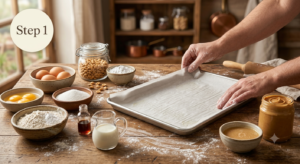
Preheat your oven to 350°F (175°C). Line a 10×15-inch jelly roll pan with parchment paper, leaving a little extra paper over the edges to make the cake easier to lift after baking.
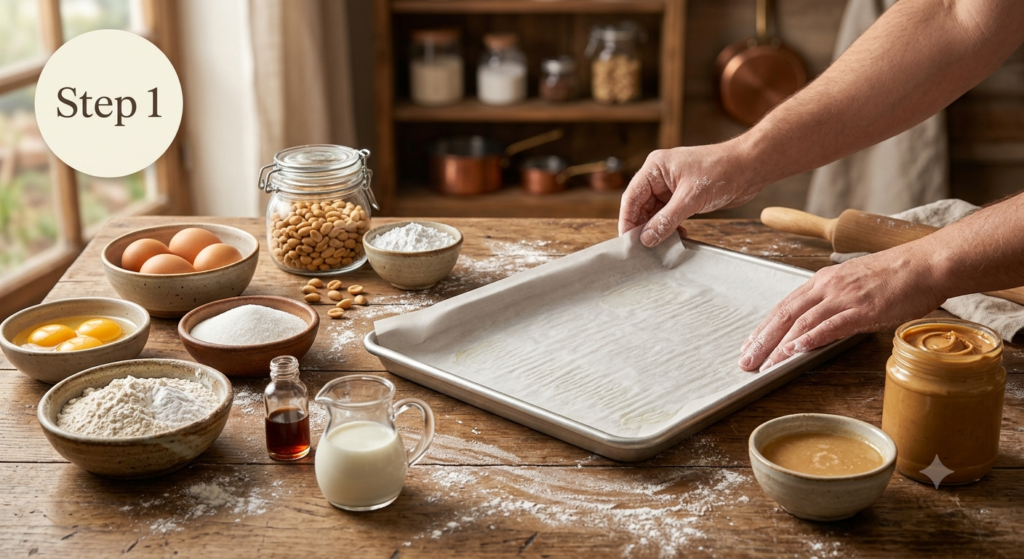
Lightly grease the parchment paper and the sides of the pan. Preparing the pan properly is important because a thin sponge cake can stick easily if the surface isn’t prepared.
Step 2: Whip the Eggs and Sugar
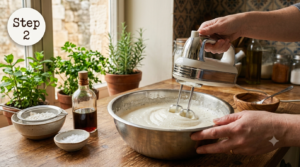
Add the eggs and granulated sugar to a large mixing bowl. Using an electric mixer, beat them on medium-high speed for approximately 5 to 7 minutes, until the mixture becomes pale, thick, and noticeably increased in volume.
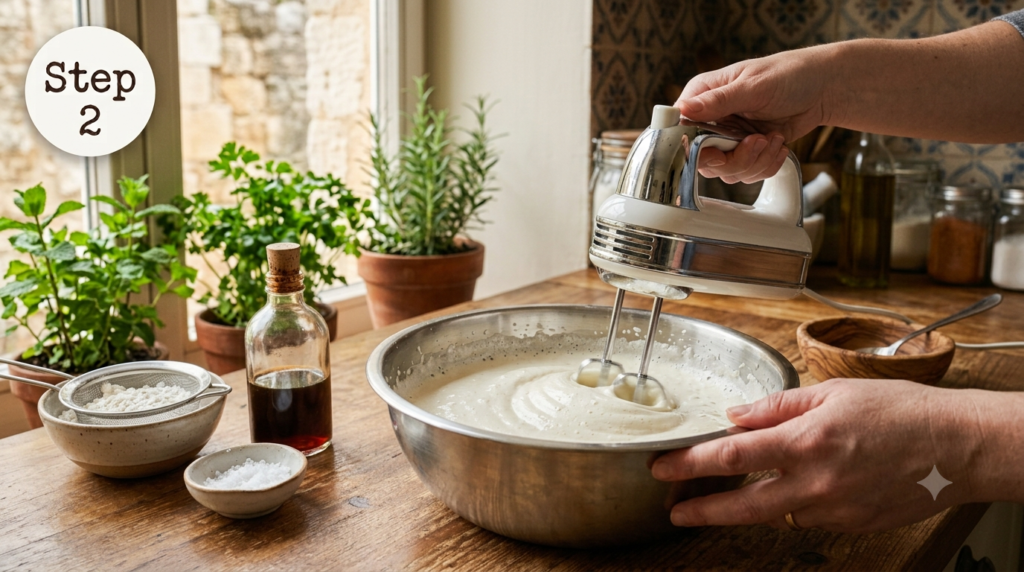
Add the vanilla extract and mix briefly. Properly whipped eggs provide much of the structure and lightness of this sponge cake, so don’t rush this step.
Step 3: Combine the Dry Ingredients
In a separate bowl, sift together the all-purpose flour, baking powder, and salt. Sifting helps remove lumps and distributes the baking powder evenly throughout the flour.
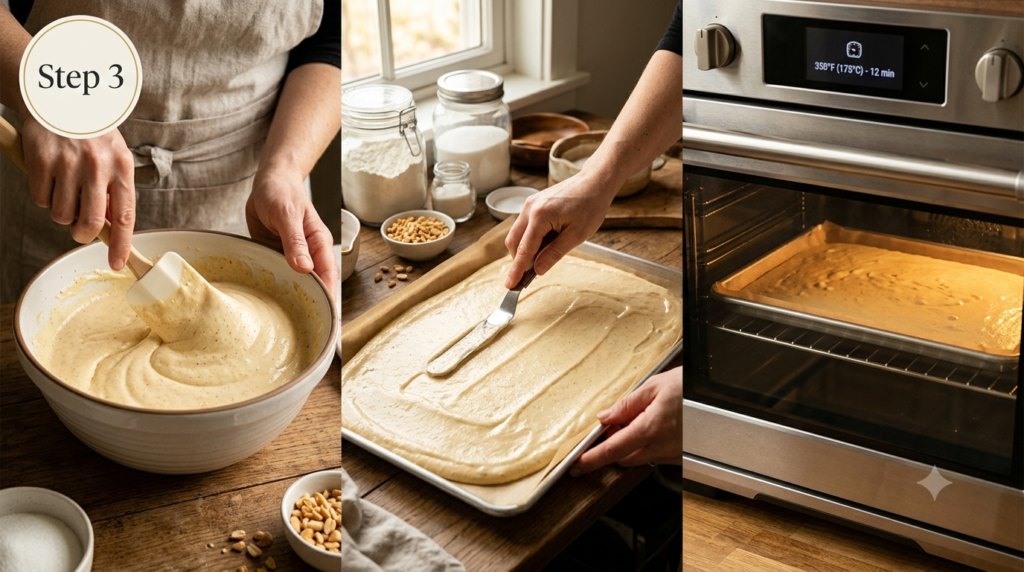
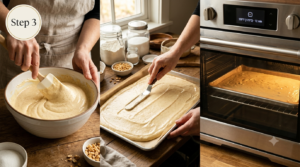
Gradually add the dry ingredients to the whipped egg mixture. Fold gently with a rubber spatula using broad movements from the bottom of the bowl upward. Avoid overmixing because you want to preserve as much air as possible.
Step 4: Add the Milk and Butter
Combine the milk and melted butter in a small bowl. Add a small amount of the cake batter to the milk mixture and stir gently, then fold that mixture back into the main batter.
This technique helps incorporate the melted butter without deflating the whipped eggs. Continue folding just until the batter is smooth and evenly combined.
Step 5: Bake the Sponge Cake
Pour the batter into the prepared jelly roll pan and spread it evenly into the corners using an offset spatula. Give the pan a gentle tap on the counter to remove any large air bubbles.
Bake for approximately 12 to 15 minutes, or until the cake is lightly golden and springs back when gently pressed in the center. Avoid overbaking because a dry sponge is much more likely to crack when rolled.
Step 6: Roll the Warm Cake
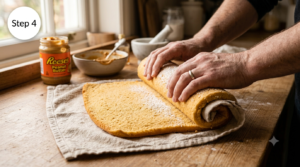
While the cake is still warm, carefully loosen the edges with a thin spatula. Place a clean kitchen towel over the cake and gently turn it out of the pan.
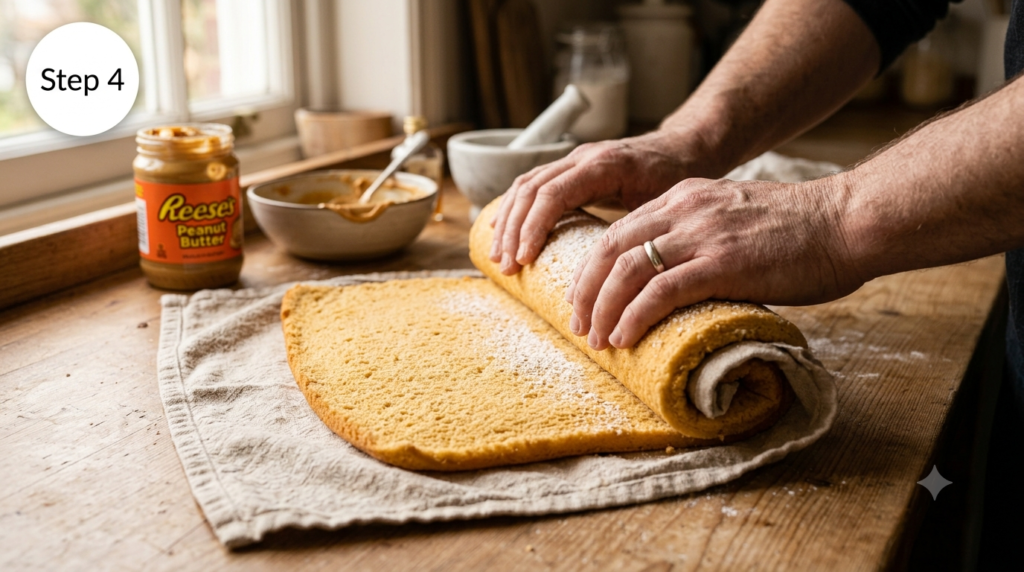
Peel away the parchment paper, then lightly dust the exposed cake with powdered sugar. Starting from one short end, carefully roll the cake together with the towel into a snug log. Let it cool completely while rolled. This helps the sponge develop the shape it needs without cracking later.
Step 7: Make the Peanut Butter Filling
While the cake cools, prepare the filling. Add the softened butter and creamy peanut butter to a mixing bowl and beat for about 2 minutes until smooth and fluffy.
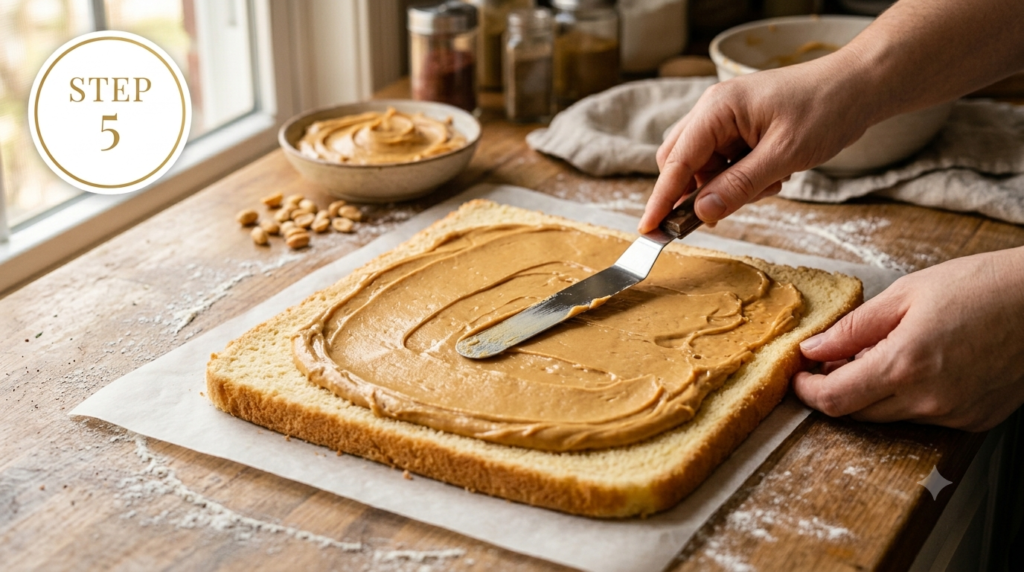
Gradually add the powdered sugar, followed by the vanilla extract, heavy cream, and a pinch of salt. Beat until the filling becomes light, creamy, and easy to spread. If it seems too thick, add another teaspoon of cream or milk.
Step 8: Fill and Roll the Cake
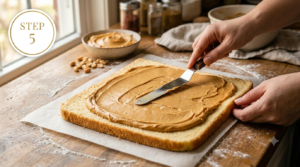
Carefully unroll the completely cooled sponge cake and spread the peanut butter filling evenly over the surface, leaving a small border around the edges.
Starting from the same short end, gently roll the cake back into a tight log. Wrap it in plastic wrap and refrigerate for at least 1 hour to allow the filling to firm up and the cake to hold its shape.
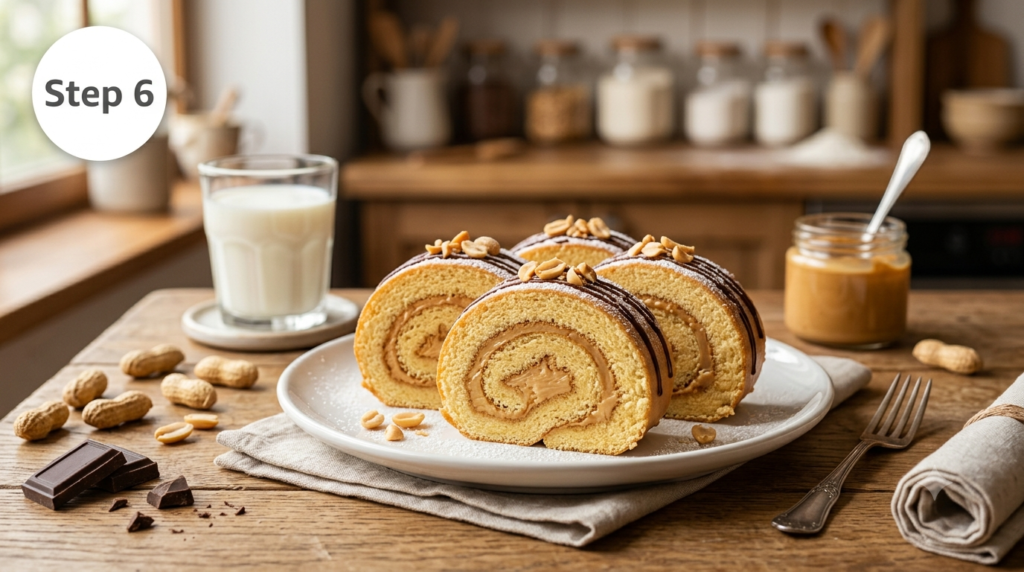
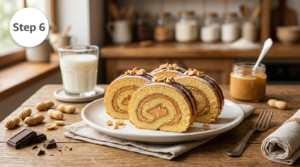
Before serving, dust the top with powdered sugar and sprinkle with chopped roasted peanuts. For an extra indulgent finish, drizzle melted chocolate over the cake.
Expert Tips for the Best Peanut Butter Roll Cake
These simple techniques can help you achieve a soft cake with a beautiful spiral.
- Beat the eggs and sugar until genuinely thick and fluffy.
- Don’t overmix the batter after adding the flour.
- Avoid overbaking the sponge because dry cake cracks easily.
- Roll the cake while it’s still warm.
- Use creamy peanut butter for the smoothest filling.
- Let the cake cool completely before adding the filling.
- Chill the finished roll before slicing.
- Use a sharp serrated knife for clean slices.
- Wipe the knife between cuts for a neat presentation.
Delicious Variations
Chocolate Peanut Butter Roll Cake
Add a little unsweetened cocoa powder to the sponge and drizzle melted chocolate over the finished cake for a classic chocolate-peanut butter combination.
Banana Peanut Butter Roll Cake
Add thin slices of banana over the peanut butter filling before rolling for a delicious banana-and-peanut-butter twist.
Peanut Butter and Jelly Roll Cake
Spread a thin layer of strawberry or raspberry jam over the cake before adding the peanut butter filling.
Chocolate Chip Peanut Butter Cake
Sprinkle mini chocolate chips over the filling before rolling for little pockets of chocolate in every slice.
Crunchy Peanut Butter Roll Cake
Replace creamy peanut butter with crunchy peanut butter and add chopped roasted peanuts for extra texture.
How to Serve Peanut Butter Roll Cake
This cake is delicious on its own but becomes even more special with a few simple additions.
- Dust with powdered sugar
- Drizzle with melted chocolate
- Serve with whipped cream
- Add sliced bananas
- Serve with vanilla ice cream
- Garnish with roasted peanuts
- Pair with coffee or cold milk
- Add fresh berries on the side
Storage
Refrigerator
Wrap the finished cake tightly in plastic wrap or place it in an airtight container. Refrigerate for up to 4 days.
Freezer
Wrap the whole cake or individual slices tightly in plastic wrap followed by aluminum foil. Freeze for up to 2 months.
Thaw the cake overnight in the refrigerator before serving.
Common Mistakes to Avoid
Overbaking the Sponge
Even a few extra minutes can make a thin sponge dry and difficult to roll. Remove it once it springs back lightly when touched.
Rolling the Cake After It Cools
A completely cooled flat sponge is less flexible and more likely to crack. Roll it while warm.
Overmixing the Batter
Aggressive mixing can deflate the whipped eggs and result in a dense cake.
Using Cold Butter for the Filling
Softened butter blends much more easily with peanut butter and creates a smoother filling.
Adding Too Much Filling
A very thick layer can cause the filling to squeeze out as you roll the cake. Use an even, moderate layer.
Nutrition Information
| Nutrient | Amount (Per Slice) |
|---|---|
| Calories | 340 kcal |
| Protein | 7 g |
| Carbohydrates | 37 g |
| Fat | 19 g |
| Saturated Fat | 7 g |
| Cholesterol | 90 mg |
| Sodium | 220 mg |
| Fiber | 2 g |
| Sugar | 24 g |
Nutrition values are approximate and may vary depending on the ingredients and slice size.
Final Thoughts
This Peanut Butter Roll Cake Recipe is a beautiful dessert that combines a light, fluffy sponge with rich and creamy peanut butter filling. Although rolling the cake may seem tricky at first, the key is simple: don’t overbake the sponge and roll it while it’s warm.
Once chilled, the cake develops a beautiful spiral that’s perfect for slicing and serving. Add chocolate, bananas, jam, or roasted peanuts to make it your own, and you’ll have a dessert that’s just as enjoyable to look at as it is to eat.
You may also like Beef Stroganoff Recipe.
Frequently Asked Questions
Why did my roll cake crack?
The most common causes are overbaking, rolling the cake after it has cooled, or making the sponge too thick. Roll it while warm and avoid overbaking.
Can I use crunchy peanut butter?
Yes. Crunchy peanut butter works well if you enjoy extra texture, although creamy peanut butter creates a smoother filling.
Can I make this cake ahead of time?
Yes. The assembled cake can be refrigerated overnight, which can actually make slicing easier and allow the flavors to blend.
Can I freeze Peanut Butter Roll Cake?
Yes. Wrap it tightly and freeze for up to 2 months. Thaw overnight in the refrigerator before serving.
How do I get clean slices?
Chill the cake thoroughly and use a sharp serrated knife. Wipe the knife clean between slices.
Can I add chocolate?
Absolutely. Chocolate and peanut butter are an excellent combination. Add chocolate chips to the filling or drizzle melted chocolate over the finished cake.
Recipe Card
Peanut Butter Roll Cake Recipe
Ingredients
Equipment
Method
- Preheat your oven to 350°F (175°C). Line a 10×15-inch jelly roll pan with parchment paper, leaving a little extra paper over the edges to make the cake easier to lift after baking.
- Lightly grease the parchment paper and the sides of the pan. Preparing the pan properly is important because a thin sponge cake can stick easily if the surface isn’t prepared.
- Add the eggs and granulated sugar to a large mixing bowl. Using an electric mixer, beat them on medium-high speed for approximately 5 to 7 minutes, until the mixture becomes pale, thick, and noticeably increased in volume.
- Add the vanilla extract and mix briefly. Properly whipped eggs provide much of the structure and lightness of this sponge cake, so don’t rush this step.
- In a separate bowl, sift together the all-purpose flour, baking powder, and salt. Sifting helps remove lumps and distributes the baking powder evenly throughout the flour.
- Gradually add the dry ingredients to the whipped egg mixture. Fold gently with a rubber spatula using broad movements from the bottom of the bowl upward. Avoid overmixing because you want to preserve as much air as possible.
- Combine the milk and melted butter in a small bowl. Add a small amount of the cake batter to the milk mixture and stir gently, then fold that mixture back into the main batter.
- This technique helps incorporate the melted butter without deflating the whipped eggs. Continue folding just until the batter is smooth and evenly combined.
- Pour the batter into the prepared jelly roll pan and spread it evenly into the corners using an offset spatula. Give the pan a gentle tap on the counter to remove any large air bubbles.
- Bake for approximately 12 to 15 minutes, or until the cake is lightly golden and springs back when gently pressed in the center. Avoid overbaking because a dry sponge is much more likely to crack when rolled.
- While the cake is still warm, carefully loosen the edges with a thin spatula. Place a clean kitchen towel over the cake and gently turn it out of the pan.
- Peel away the parchment paper, then lightly dust the exposed cake with powdered sugar. Starting from one short end, carefully roll the cake together with the towel into a snug log. Let it cool completely while rolled. This helps the sponge develop the shape it needs without cracking later.
- While the cake cools, prepare the filling. Add the softened butter and creamy peanut butter to a mixing bowl and beat for about 2 minutes until smooth and fluffy.
- Gradually add the powdered sugar, followed by the vanilla extract, heavy cream, and a pinch of salt. Beat until the filling becomes light, creamy, and easy to spread. If it seems too thick, add another teaspoon of cream or milk.
- Carefully unroll the completely cooled sponge cake and spread the peanut butter filling evenly over the surface, leaving a small border around the edges.
- Starting from the same short end, gently roll the cake back into a tight log. Wrap it in plastic wrap and refrigerate for at least 1 hour to allow the filling to firm up and the cake to hold its shape.
- Before serving, dust the top with powdered sugar and sprinkle with chopped roasted peanuts. For an extra indulgent finish, drizzle melted chocolate over the cake.
Video
Notes
- Dust with powdered sugar
- Drizzle with melted chocolate
- Serve with whipped cream
- Add sliced bananas
- Serve with vanilla ice cream
- Garnish with roasted peanuts
- Pair with coffee or cold milk
- Add fresh berries on the side

1 thought on “Peanut Butter Roll Cake Recipe”