
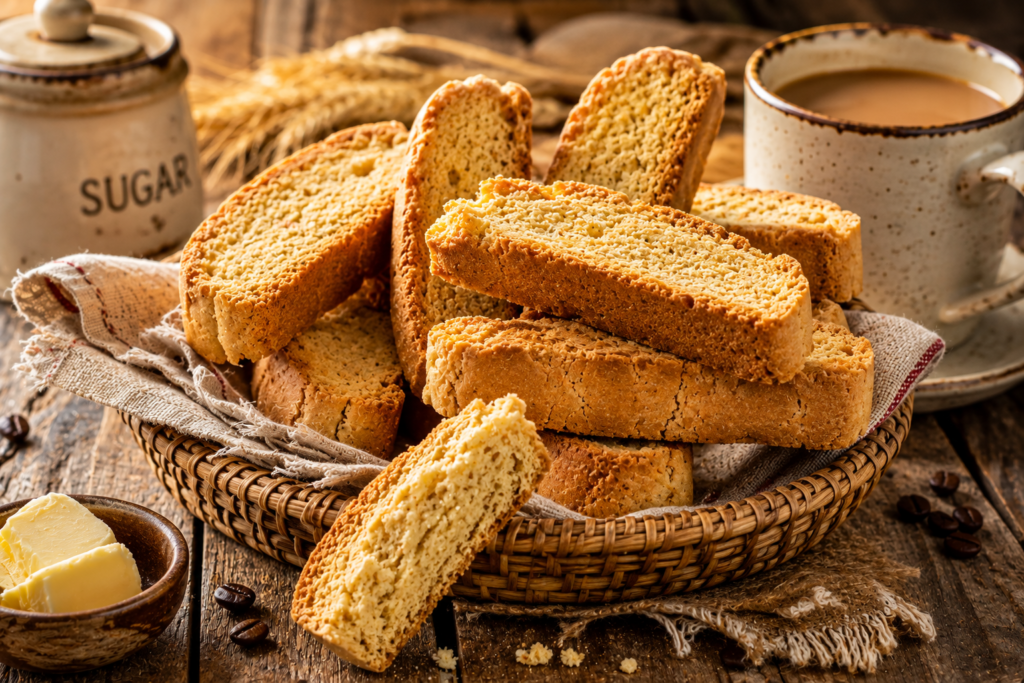
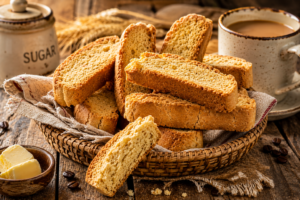
Few South African baked treats are as iconic as Ouma Rusks. These crunchy, twice-baked biscuits have been enjoyed for generations and are traditionally served with a hot cup of coffee or tea. Their signature texture makes them perfect for dipping, allowing them to soften slightly while still holding their shape.
This homemade Ouma Rusks Recipe captures the classic flavor and texture that made these rusks famous. Made with simple pantry ingredients, they are lightly sweet, buttery, and wonderfully crisp. Whether you’re looking for a traditional South African breakfast treat or a comforting snack to enjoy throughout the day, these rusks are a fantastic choice.
The secret behind authentic rusks is the double-baking process. First, the dough is baked until golden and cooked through. Then the rusks are cut and slowly dried in the oven, creating their characteristic crunchy texture. The result is a biscuit that can be stored for weeks and enjoyed whenever cravings strike.
Recipe Overview
- Category: Breakfast / Snack
- Cuisine: South African
- Yield: 24 rusks
- Prep Time: 20 minutes
- Bake Time: 45 minutes
- Drying Time: 2–3 hours
- Total Time: About 4 hours
- Calories: Approximately 180 calories per rusk
Why You’ll Love This Ouma Rusks Recipe
These traditional rusks have remained popular for decades because they are simple, satisfying, and versatile.
- Perfect for dipping into coffee or tea
- Crispy and crunchy texture
- Easy pantry ingredients
- Great make-ahead snack
- Long shelf life
- Family-friendly recipe
- Traditional South African favorite
- Delicious any time of day
What Are Ouma Rusks?
Ouma Rusks are traditional South African twice-baked biscuits. The name “Ouma” means “grandmother” in Afrikaans, reflecting the homemade and comforting nature of these beloved treats. They are often compared to biscotti, although rusks tend to be thicker, lighter, and more cake-like before being dried.
Historically, rusks were created as a practical way to preserve baked goods for extended periods. Today, they remain a staple in many South African households and are commonly enjoyed at breakfast or as an afternoon snack. Their ability to stay fresh for weeks makes them ideal for storing in airtight containers.
Ingredients
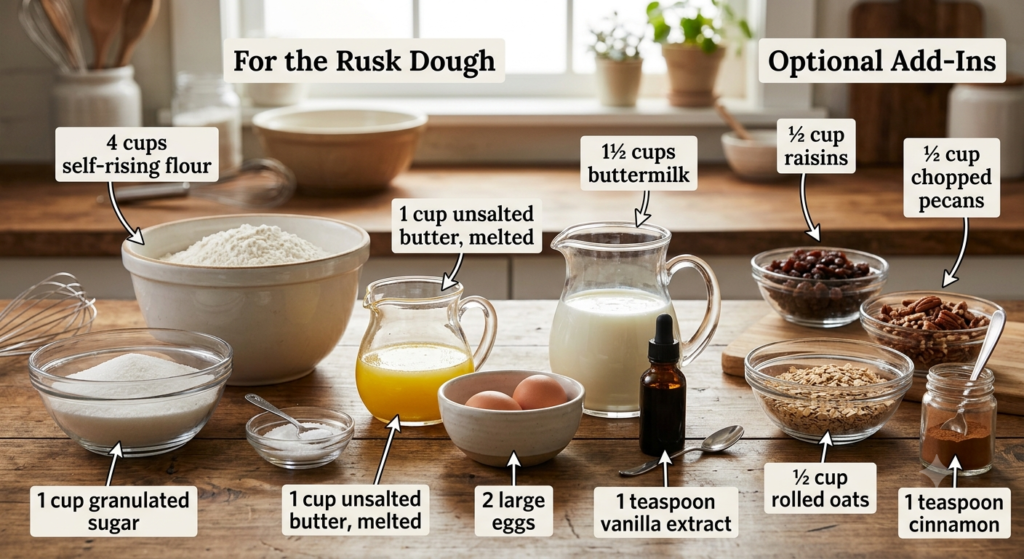
For the Rusk Dough
- 4 cups self-rising flour
- 1 cup granulated sugar
- 1 teaspoon salt
- 1 cup unsalted butter, melted
- 2 large eggs
- 1½ cups buttermilk
- 1 teaspoon vanilla extract
Optional Add-Ins
- ½ cup raisins
- ½ cup chopped pecans
- ½ cup rolled oats
- 1 teaspoon cinnamon
Kitchen Equipment
You’ll need:
- Large mixing bowl
- Whisk
- Wooden spoon
- 9×13-inch baking pan
- Parchment paper
- Cooling rack
- Sharp knife
- Baking trays
How to Make Ouma Rusks
Step 1: Prepare the Dough
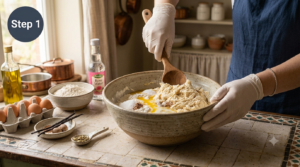
Preheat your oven to 350°F (175°C) and lightly grease a 9×13-inch baking dish. In a large mixing bowl, whisk together the self-rising flour, sugar, and salt until evenly combined.
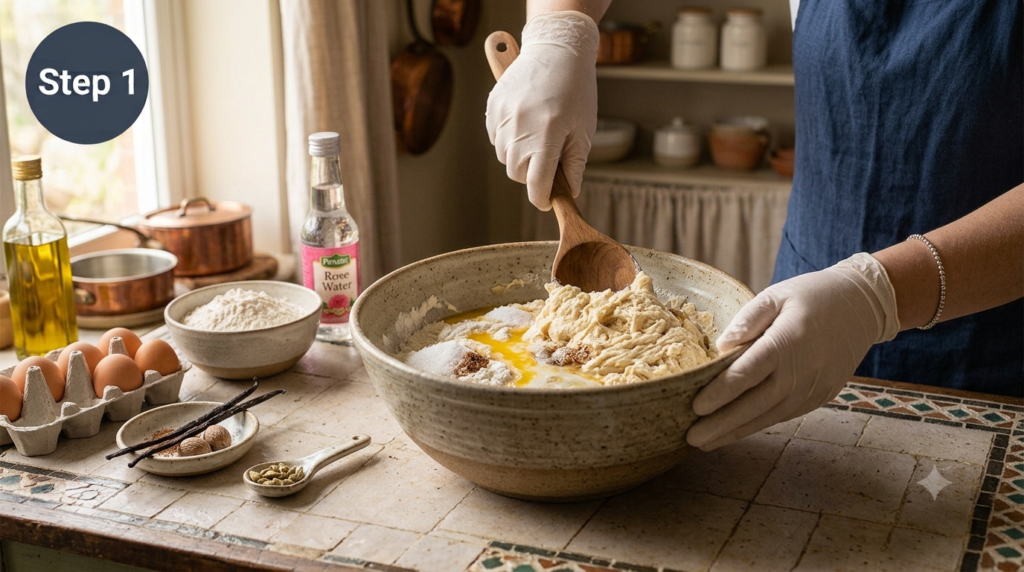
In a separate bowl, mix the melted butter, eggs, buttermilk, and vanilla extract. Pour the wet ingredients into the dry ingredients and stir until a soft dough forms. If using raisins, oats, cinnamon, or nuts, fold them in at this stage.
Step 2: Transfer and Bake
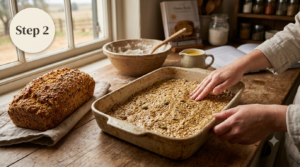
Spread the dough evenly into the prepared baking dish. Smooth the top with a spatula so the dough bakes evenly throughout. The mixture will be thicker than cake batter but softer than traditional cookie dough.
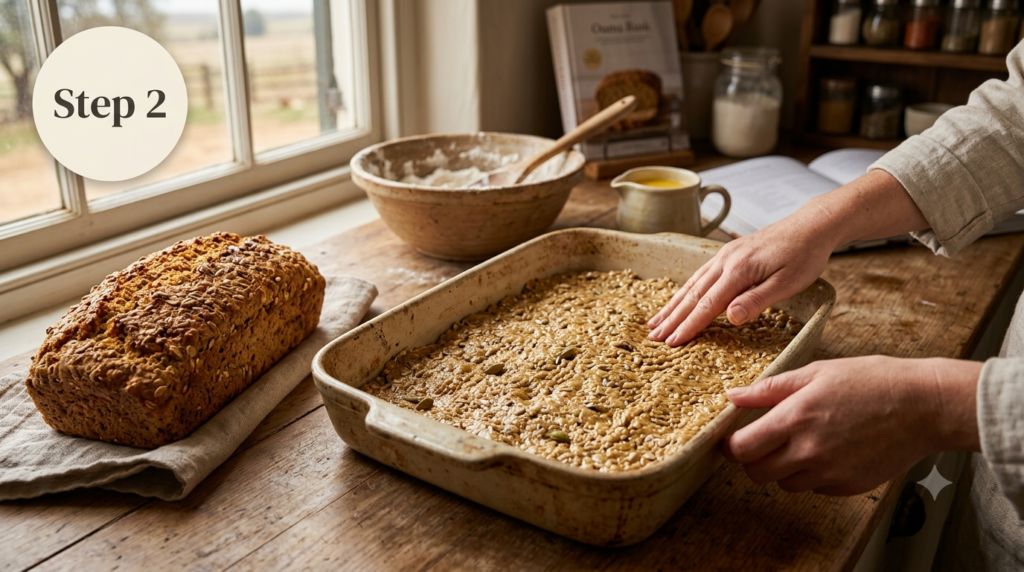
Bake for approximately 40 to 45 minutes or until the top becomes lightly golden and a toothpick inserted into the center comes out clean. Remove from the oven and allow it to cool slightly.
Step 3: Cut Into Rusk Shapes
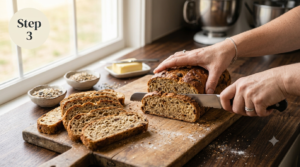
While the baked loaf is still warm, carefully remove it from the pan and place it on a cutting board. Using a sharp knife, cut it into long rectangular strips or traditional rusk-shaped pieces.
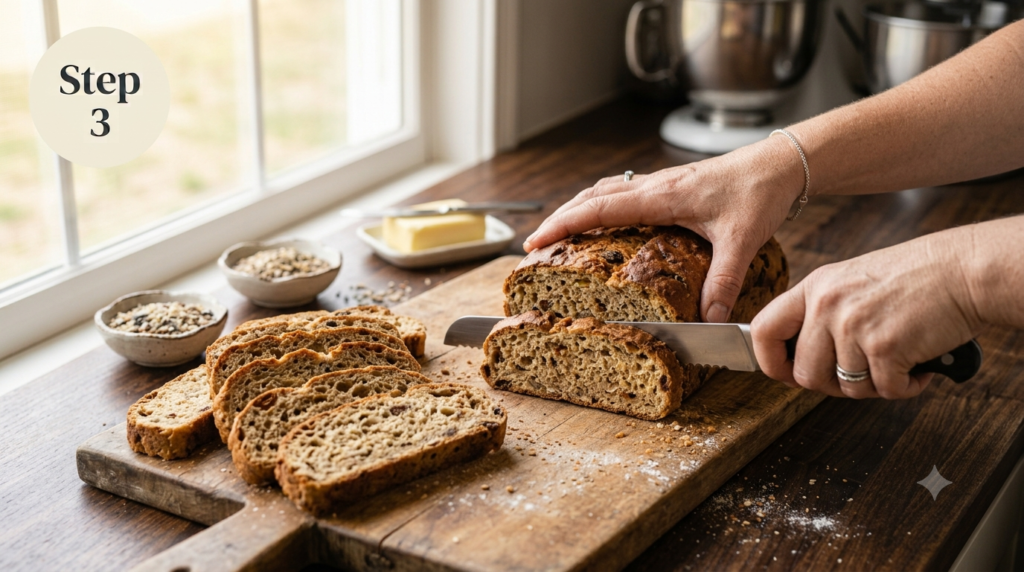
Try to keep the sizes as uniform as possible. Evenly sized pieces will dry at the same rate during the second baking stage, ensuring consistent texture throughout the batch.
Step 4: Arrange for Drying
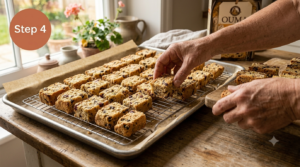
Place the cut rusks onto baking trays or wire racks with a little space between each piece. Proper airflow is important because the goal is to remove moisture gradually rather than continue baking aggressively.
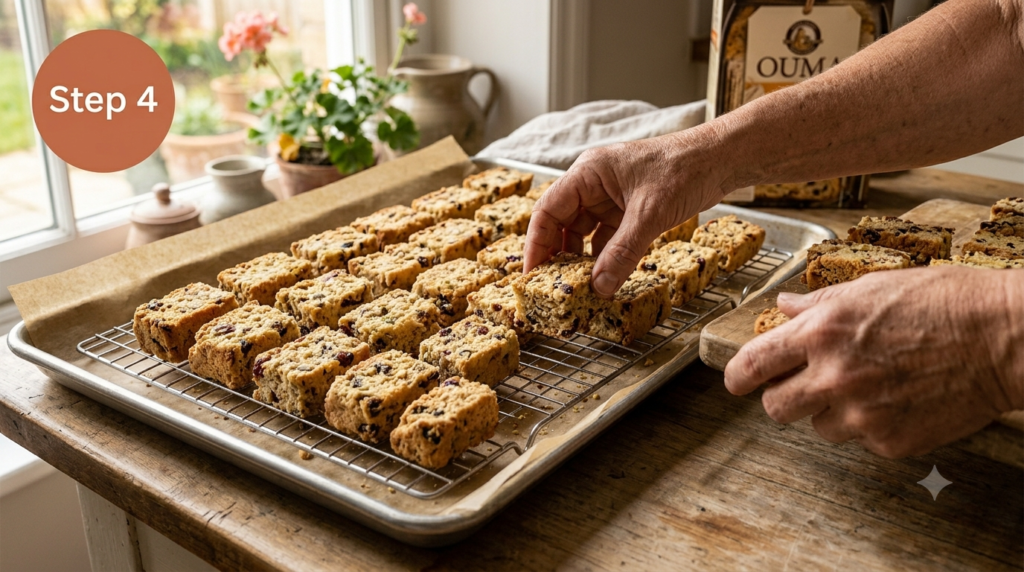
Reduce the oven temperature to 200°F (95°C). This low temperature helps dry the rusks slowly while preserving their delicate flavor and preventing excessive browning.
Step 5: Dry the Rusks
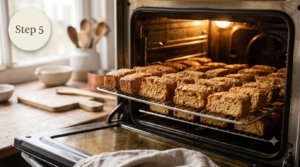
Return the trays to the oven and allow the rusks to dry for approximately 2 to 3 hours. Turn them halfway through the drying process so they become evenly crisp on all sides.
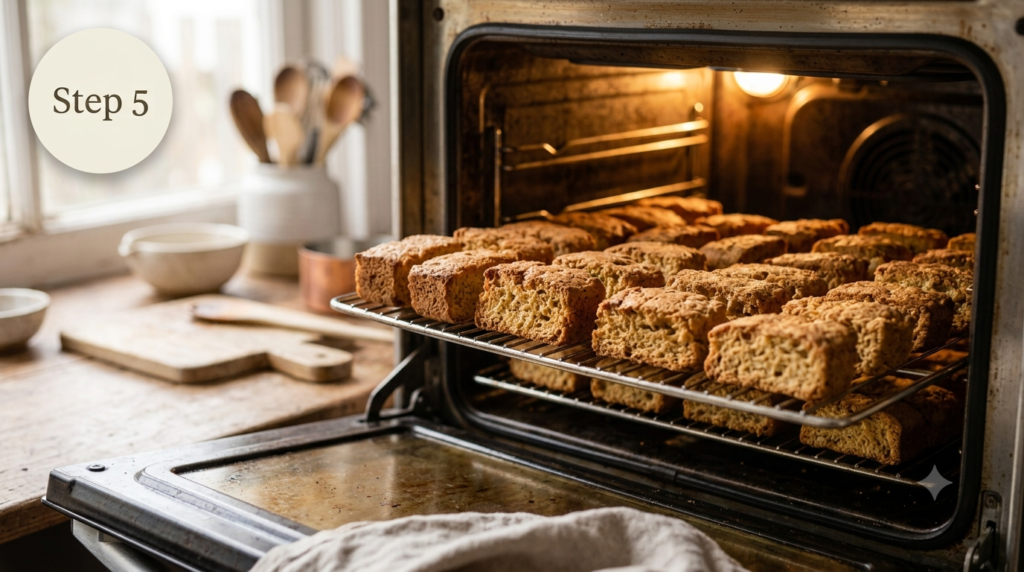
The rusks are ready when they feel dry, firm, and crunchy throughout. Depending on humidity levels and thickness, the drying time may vary slightly.
Step 6: Cool and Store
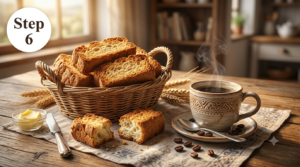
Remove the rusks from the oven and allow them to cool completely on wire racks. As they cool, they will become even crispier.
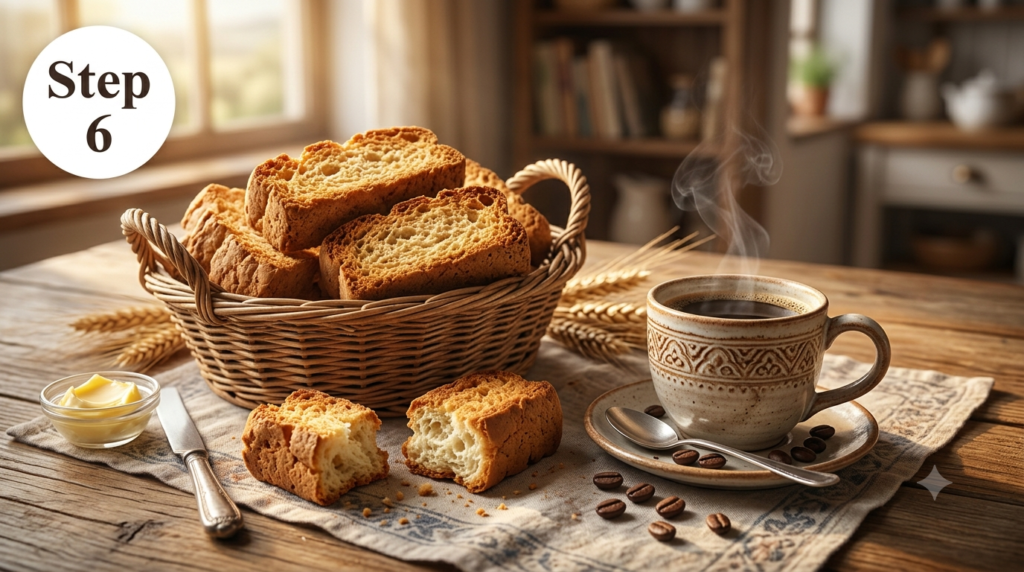
Store them in an airtight container at room temperature. Properly dried rusks can remain fresh and crunchy for several weeks, making them perfect for meal prep and everyday snacking.
Expert Tips for the Best Ouma Rusks
Making perfect rusks is all about achieving the right balance between a light interior and a crisp exterior. These tips will help you get consistent results every time.
- Use fresh self-rising flour for the best rise.
- Do not overmix the dough, as this can make the rusks dense.
- Cut the rusks while the loaf is still warm for cleaner shapes.
- Dry the rusks at a low temperature rather than rushing the process.
- Leave enough space between the rusks during drying for proper airflow.
- Allow the rusks to cool completely before storing.
- Use buttermilk for a more traditional flavor and tender crumb.
- Store in an airtight container to maintain crunchiness.
Traditional Ouma Rusk Variations
One of the reasons rusks remain so popular is their versatility. Once you’ve mastered the classic version, you can experiment with different flavors and textures.
Buttermilk Rusks
This is the most traditional version and closely resembles classic Ouma Rusks. The buttermilk provides a subtle tang and helps create a tender texture before drying.
Raisin Rusks
Adding raisins introduces natural sweetness and chewy pockets of flavor. These are especially popular as a breakfast treat.
Muesli Rusks
Rolled oats, seeds, nuts, and dried fruits create a hearty rusk that’s perfect for busy mornings. This variation is commonly found in modern South African bakeries.
Cinnamon Rusks
A teaspoon or two of ground cinnamon adds warmth and aroma, making these rusks especially enjoyable during cooler months.
Nut Rusks
Pecans, walnuts, or almonds bring extra crunch and richness while complementing the buttery base of the recipe.
What to Serve with Ouma Rusks
Rusks are traditionally enjoyed with hot beverages, but there are many ways to serve them.
- Freshly brewed coffee
- Black tea
- Rooibos tea
- Cappuccino
- Hot chocolate
- Chai tea
- Warm milk
- Breakfast fruit platters
Many South Africans enjoy dipping rusks briefly into coffee or tea, allowing them to soften slightly while still retaining their texture.
Storage Instructions
Room Temperature
Store completely cooled rusks in an airtight container for up to 4 weeks.
Pantry Storage
Keep the container in a cool, dry place away from direct sunlight and humidity.
Freezing
Rusks can be frozen for up to 3 months. Allow them to thaw at room temperature before serving.
Maintaining Crispness
If the rusks lose some of their crunch, place them in a low-temperature oven for a few minutes to restore their texture.
Common Mistakes to Avoid
Skipping the Drying Process
The second bake is what transforms the loaf into authentic rusks. Without proper drying, they will remain soft rather than crunchy.
Cutting Uneven Pieces
Large variations in size can cause some rusks to overdry while others remain soft.
Drying at Too High a Temperature
Excessive heat can brown the rusks too much before the moisture has evaporated.
Storing Before Cooling
Warm rusks release moisture inside the container, which can make them lose their crisp texture.
Overmixing the Dough
Overworked dough may result in dense and heavy rusks rather than light, crunchy ones.
Nutrition Information
| Nutrient | Amount (Per Rusk) |
|---|---|
| Calories | 180 kcal |
| Carbohydrates | 24 g |
| Protein | 3 g |
| Fat | 8 g |
| Saturated Fat | 4 g |
| Sugar | 9 g |
| Fiber | 1 g |
| Sodium | 180 mg |
Nutrition values are approximate and may vary based on ingredients and portion size.
Final Thoughts
This Ouma Rusks Recipe brings a cherished South African tradition into your kitchen. With their crisp texture, buttery flavor, and long shelf life, these twice-baked treats are ideal for breakfast, afternoon tea, or a comforting snack throughout the day.
The beauty of rusks lies in their simplicity. Basic ingredients are transformed into something truly special through the traditional double-baking process. Once you’ve tasted homemade rusks fresh from your kitchen, you’ll understand why they’ve remained a favorite for generations.
Whether enjoyed with coffee on a quiet morning or shared with family and friends, these classic rusks are a timeless treat worth making again and again.
You may also like Prawn Wonton Recipe.
Frequently Asked Questions
What are Ouma Rusks?
Ouma Rusks are traditional South African twice-baked biscuits known for their crunchy texture and suitability for dipping into tea or coffee.
Why are rusks baked twice?
The first bake cooks the dough, while the second low-temperature bake removes moisture and creates the signature crisp texture.
Can I make rusks without buttermilk?
Yes. You can substitute regular milk mixed with a tablespoon of lemon juice or vinegar.
How long do homemade rusks last?
When stored properly in an airtight container, they can remain fresh for up to 4 weeks.
Can I add nuts and dried fruit?
Absolutely. Raisins, oats, pecans, almonds, and dried cranberries are all popular additions.
Are rusks similar to biscotti?
They are similar because both are twice-baked, but rusks are generally thicker, lighter, and less dense than traditional biscotti.
Recipe Card
Ouma Rusks Recipe
Ingredients
Equipment
Method
- Preheat your oven to 350°F (175°C) and lightly grease a 9×13-inch baking dish. In a large mixing bowl, whisk together the self-rising flour, sugar, and salt until evenly combined.
- In a separate bowl, mix the melted butter, eggs, buttermilk, and vanilla extract. Pour the wet ingredients into the dry ingredients and stir until a soft dough forms. If using raisins, oats, cinnamon, or nuts, fold them in at this stage.
- Spread the dough evenly into the prepared baking dish. Smooth the top with a spatula so the dough bakes evenly throughout. The mixture will be thicker than cake batter but softer than traditional cookie dough.
- Bake for approximately 40 to 45 minutes or until the top becomes lightly golden and a toothpick inserted into the center comes out clean. Remove from the oven and allow it to cool slightly.
- While the baked loaf is still warm, carefully remove it from the pan and place it on a cutting board. Using a sharp knife, cut it into long rectangular strips or traditional rusk-shaped pieces.
- Try to keep the sizes as uniform as possible. Evenly sized pieces will dry at the same rate during the second baking stage, ensuring consistent texture throughout the batch.
- Place the cut rusks onto baking trays or wire racks with a little space between each piece. Proper airflow is important because the goal is to remove moisture gradually rather than continue baking aggressively.
- Reduce the oven temperature to 200°F (95°C). This low temperature helps dry the rusks slowly while preserving their delicate flavor and preventing excessive browning.
- Return the trays to the oven and allow the rusks to dry for approximately 2 to 3 hours. Turn them halfway through the drying process so they become evenly crisp on all sides.
- The rusks are ready when they feel dry, firm, and crunchy throughout. Depending on humidity levels and thickness, the drying time may vary slightly.
- Remove the rusks from the oven and allow them to cool completely on wire racks. As they cool, they will become even crispier.
- Store them in an airtight container at room temperature. Properly dried rusks can remain fresh and crunchy for several weeks, making them perfect for meal prep and everyday snacking.
Video
Notes
- Freshly brewed coffee
- Black tea
- Rooibos tea
- Cappuccino
- Hot chocolate
- Chai tea
- Warm milk
- Breakfast fruit platters
