

Have you ever wanted to try a traditional Assamese sweet that’s crispy on the outside, soft on the inside, and incredibly easy to make? This Ghila Pitha Recipe is a beloved Assamese snack prepared with rice flour, jaggery, and a few simple ingredients. Traditionally made during festivals such as Bihu, Ghila Pitha holds a special place in Assamese cuisine and culture.
The word “Ghila” means round, referring to the shape of these delicious fried rice cakes. Unlike many modern desserts, Ghila Pitha relies on simple pantry ingredients to create a naturally sweet and satisfying treat. The combination of aromatic rice flour and jaggery gives each bite a unique flavor that feels both rustic and comforting.
Whether you’re exploring Assamese cuisine for the first time or recreating a childhood favorite, this authentic Ghila Pitha recipe is easy to follow and delivers delicious results every time.
Recipe Overview
- Recipe Name: Ghila Pitha
- Cuisine: Assamese
- Category: Snack / Dessert
- Prep Time: 20 Minutes
- Cook Time: 20 Minutes
- Total Time: 40 Minutes
- Servings: 12 Pithas
- Calories: Approximately 140 kcal per pitha
What Is Ghila Pitha?
Ghila Pitha is a traditional Assamese sweet snack made from rice flour and jaggery. The dough is shaped into small round discs and deep-fried until golden brown. Popular during Bihu celebrations and other festive occasions, Ghila Pitha is known for its crispy exterior and soft, slightly chewy interior. It is often enjoyed with tea and served to guests during festivals and family gatherings.
Why You’ll Love This Recipe
- Authentic Assamese traditional recipe
- Made with simple ingredients
- Naturally sweetened with jaggery
- Crispy outside and soft inside
- Perfect festive snack
- Easy beginner-friendly recipe
- Great with tea or coffee
- Rich cultural heritage dish
Ingredients
You’ll only need a few traditional ingredients to make these delicious Assamese rice cakes.
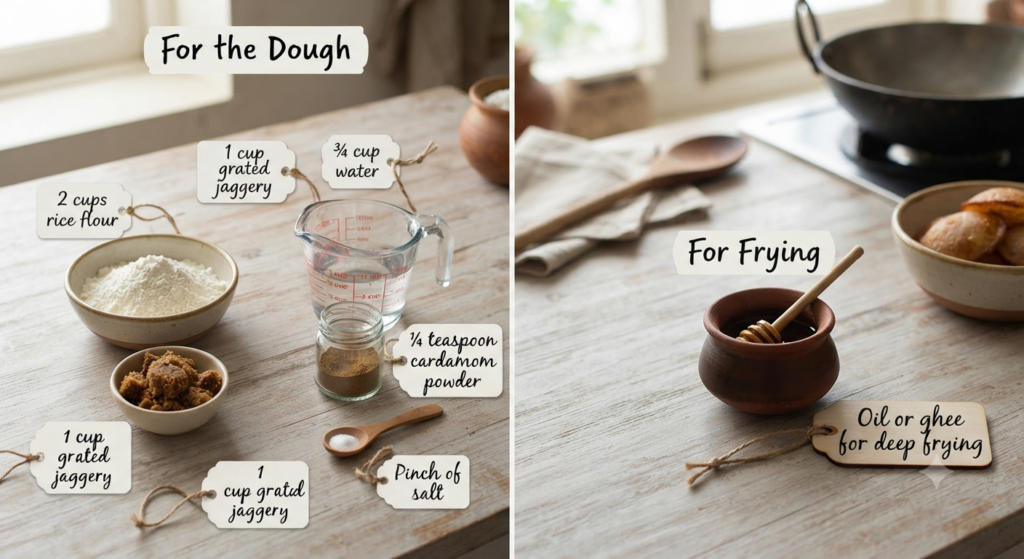
For the Dough
- 2 cups rice flour
- 1 cup grated jaggery
- ¾ cup water
- ¼ teaspoon cardamom powder
- Pinch of salt
For Frying
- Oil or ghee for deep frying
Equipment Needed
- Mixing bowl
- Saucepan
- Deep frying pan or kadai
- Slotted spoon
- Measuring cups
- Kitchen towel
Recipe Video Guide
How to Make Ghila Pitha
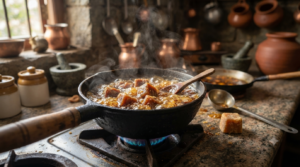
Step 1: Prepare the Jaggery Syrup
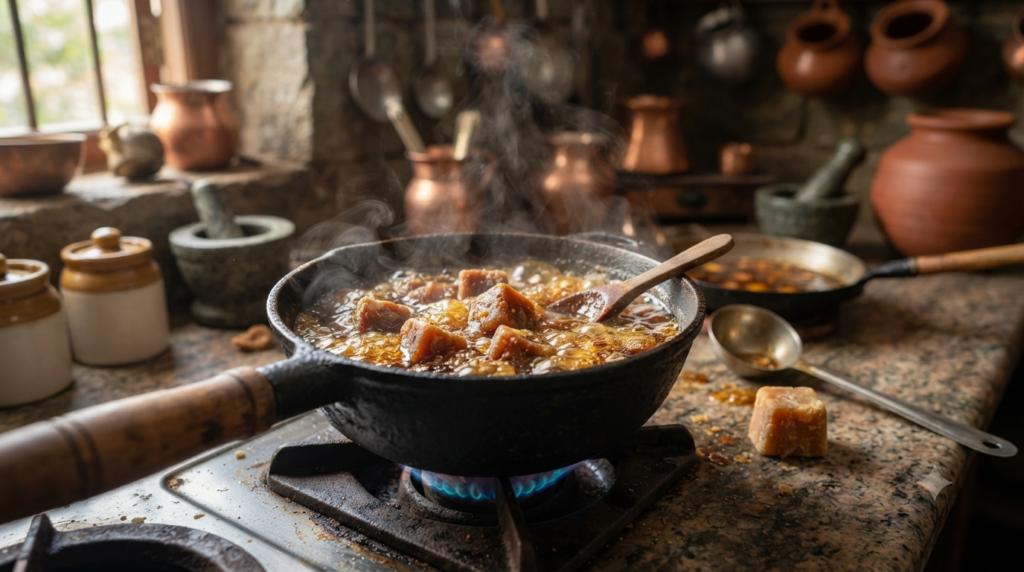
Add the jaggery and water to a saucepan and heat gently until the jaggery completely dissolves. Strain the mixture if necessary to remove impurities, then allow it to cool slightly before using.
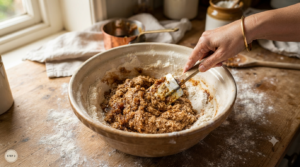
Step 2: Make the Dough
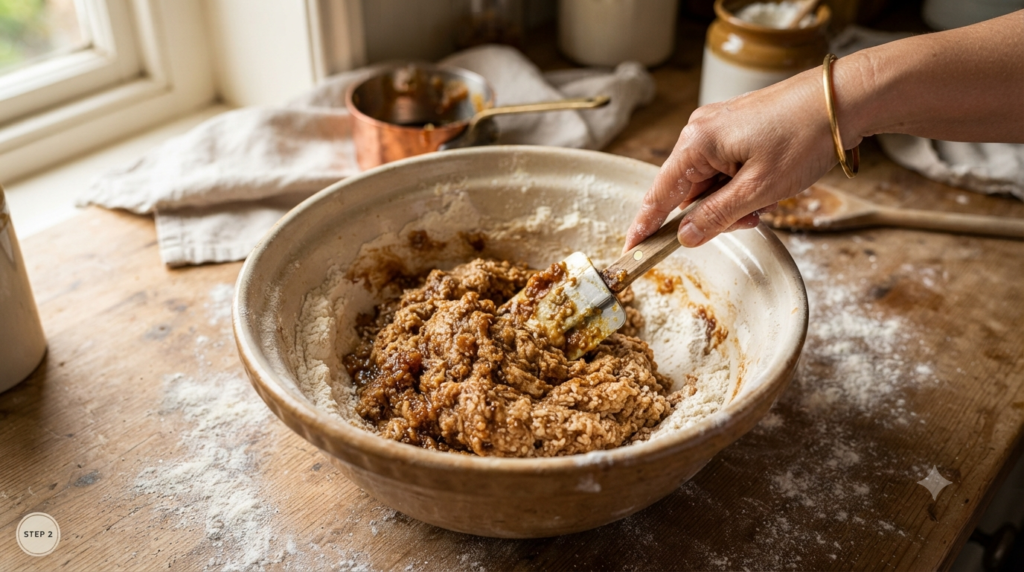
Place the rice flour, cardamom powder, and salt in a mixing bowl. Gradually pour in the warm jaggery syrup while mixing continuously until a soft dough forms that can easily be shaped by hand.
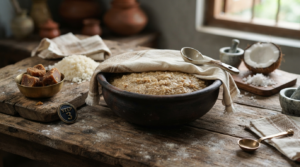
Step 3: Rest the Dough
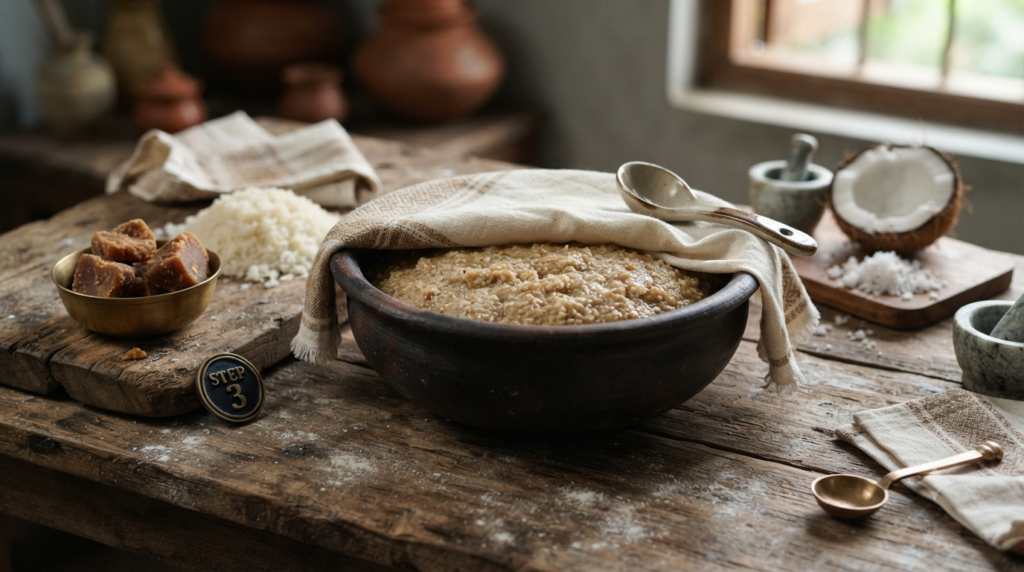
Cover the dough and allow it to rest for about 10–15 minutes. This helps the rice flour absorb moisture evenly and makes shaping the pithas much easier.
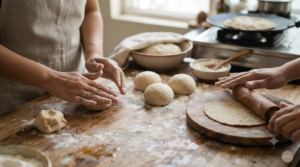
Step 4: Shape the Pithas
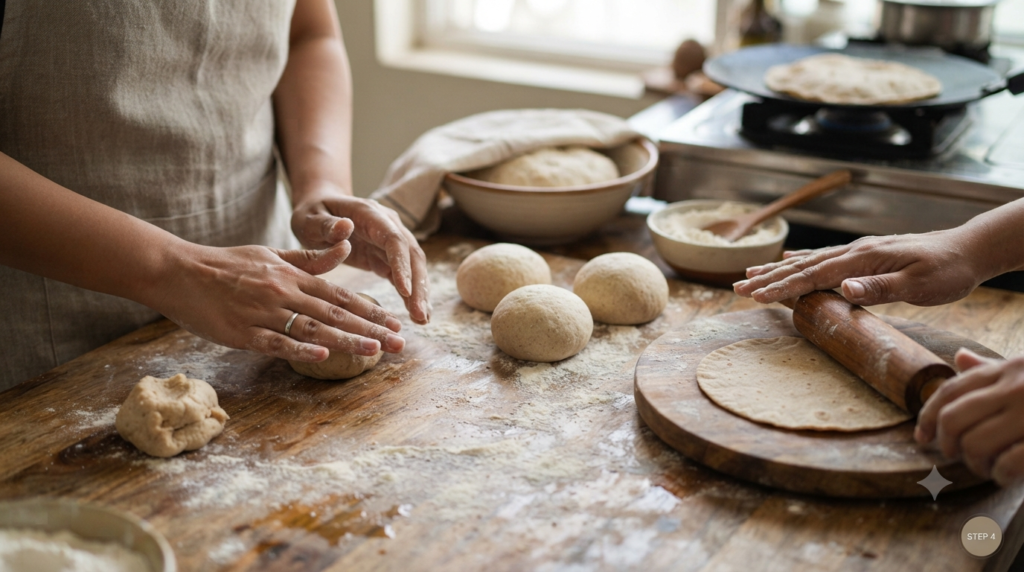
Take small portions of dough and roll them into smooth balls. Flatten each ball slightly to create thick round discs, which is the traditional shape of Ghila Pitha.
Step 5: Fry Until Golden
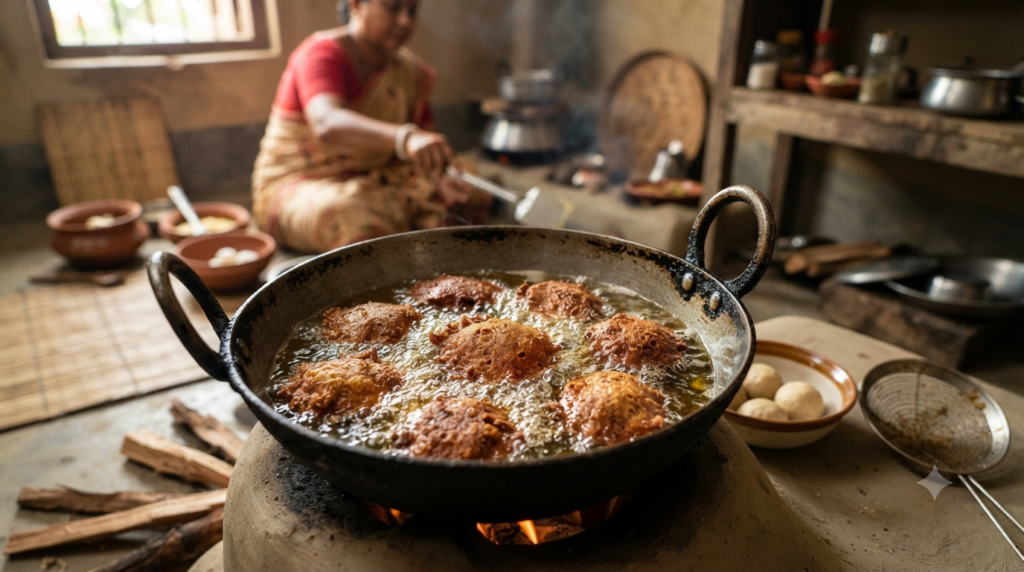
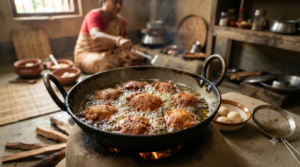
Heat oil or ghee in a deep kadai over medium heat and carefully add the prepared pithas. Fry a few at a time, turning occasionally, until they become evenly golden brown on all sides.
Step 6: Drain and Serve
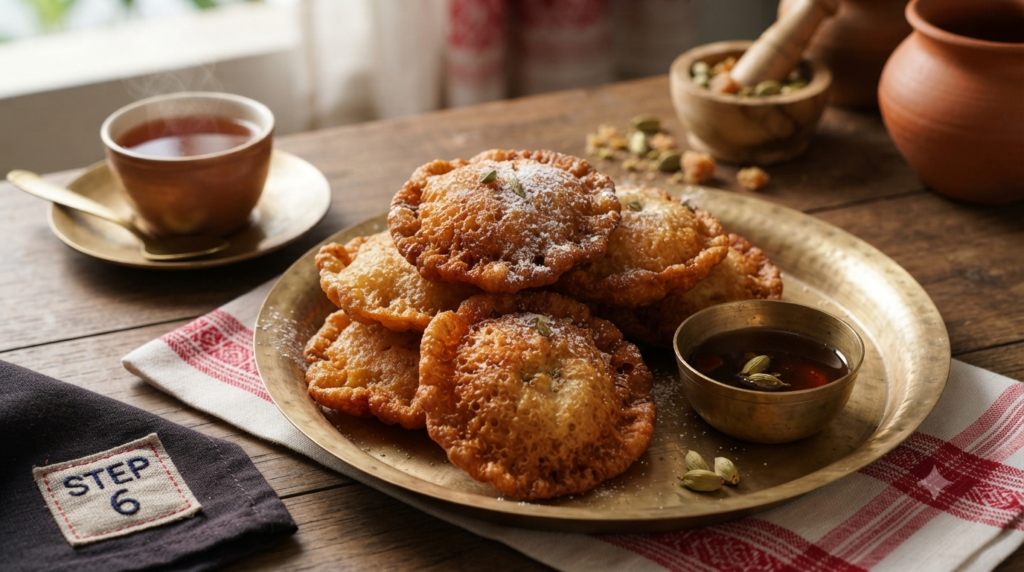
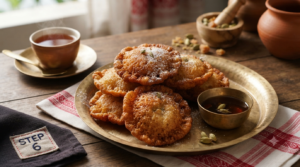
Remove the fried pithas using a slotted spoon and place them on a kitchen towel to drain excess oil. Allow them to cool slightly before serving warm or at room temperature.
Expert Tips for the Best Ghila Pitha
- Use fresh rice flour for the best texture and flavor.
- Ensure the jaggery dissolves completely before mixing.
- The dough should be soft but not sticky.
- Fry over medium heat to ensure even cooking.
- Avoid overcrowding the pan while frying.
- Let the dough rest before shaping.
- Use good-quality jaggery for authentic taste.
- Drain excess oil properly after frying.
Traditional Variations
Coconut Ghila Pitha
Add freshly grated coconut to the dough for extra flavor and texture.
Sesame Ghila Pitha
Mix roasted sesame seeds into the dough for a nutty taste.
Ghee-Fried Version
Use ghee instead of oil for a richer traditional flavor.
Cardamom-Rich Version
Increase the cardamom for a more aromatic pitha.
Festival Special Ghila Pitha
Add both coconut and sesame seeds for a festive variation commonly prepared during Bihu.
Serving Suggestions
Enjoy Ghila Pitha with:
- Assamese tea
- Masala chai
- Black tea
- Coffee
- Warm milk
- Festival snack platters
- Traditional Assamese sweets
- Evening tea-time snacks
Storage Instructions
Room Temperature
Store in an airtight container for up to 2 days.
Refrigerator
Store for up to 5 days in a sealed container.
Reheating
Warm briefly in a microwave or air fryer before serving.
Freezing
Freeze for up to 1 month and thaw before reheating.
Common Mistakes to Avoid
Using Thin Dough
A loose dough can make shaping difficult and affect texture.
Overheating the Oil
Very hot oil may brown the outside while leaving the inside undercooked.
Frying at Low Temperature
Low heat can make the pithas absorb excess oil.
Skipping the Resting Time
Resting helps improve the dough’s consistency and texture.
Adding Too Much Water
Excess liquid can make the dough sticky and difficult to handle.
Nutrition Information
| Nutrient | Amount Per Pitha |
|---|---|
| Calories | 140 kcal |
| Carbohydrates | 25g |
| Protein | 2g |
| Fat | 4g |
| Saturated Fat | 0.5g |
| Fiber | 1g |
| Sugar | 10g |
| Sodium | 20mg |
Nutrition values are approximate and may vary depending on ingredients used.
Final Thoughts
This Ghila Pitha Recipe is a wonderful way to experience the rich culinary traditions of Assam. Made with simple ingredients like rice flour and jaggery, these golden fried rice cakes offer a delightful combination of sweetness, texture, and tradition.
Whether you’re celebrating Bihu, exploring regional Indian recipes, or simply looking for a unique homemade snack, Ghila Pitha is a timeless treat that brings warmth and tradition to every bite. You may also like Easy Guntur Chicken Recipe.
Frequently Asked Questions
What is Ghila Pitha made of?
Traditional Ghila Pitha is made with rice flour, jaggery, water, and a few simple flavorings such as cardamom.
Is Ghila Pitha a sweet or savory dish?
It is traditionally a sweet snack made with jaggery.
Can I use sugar instead of jaggery?
Yes, but jaggery provides the authentic flavor and traditional taste.
Is Ghila Pitha gluten-free?
Yes. Since it uses rice flour, it is naturally gluten-free.
Can I bake Ghila Pitha instead of frying?
Traditional Ghila Pitha is fried, but baking is possible if you prefer a lighter version.
Why is my Ghila Pitha hard?
The dough may have been too dry or the pithas may have been overfried.
Recipe Card
Ghila Pitha Recipe
Ingredients
Equipment
Method
- Add the jaggery and water to a saucepan and heat gently until the jaggery completely dissolves. Strain the mixture if necessary to remove impurities, then allow it to cool slightly before using.
- Place the rice flour, cardamom powder, and salt in a mixing bowl. Gradually pour in the warm jaggery syrup while mixing continuously until a soft dough forms that can easily be shaped by hand.
- Cover the dough and allow it to rest for about 10–15 minutes. This helps the rice flour absorb moisture evenly and makes shaping the pithas much easier.
- Take small portions of dough and roll them into smooth balls. Flatten each ball slightly to create thick round discs, which is the traditional shape of Ghila Pitha.
- Heat oil or ghee in a deep kadai over medium heat and carefully add the prepared pithas. Fry a few at a time, turning occasionally, until they become evenly golden brown on all sides.
- Remove the fried pithas using a slotted spoon and place them on a kitchen towel to drain excess oil. Allow them to cool slightly before serving warm or at room temperature.
Video
Notes
- Use fresh rice flour for the best texture and flavor.
- Ensure the jaggery dissolves completely before mixing.
- The dough should be soft but not sticky.
- Fry over medium heat to ensure even cooking.
- Avoid overcrowding the pan while frying.
- Let the dough rest before shaping.
- Use good-quality jaggery for authentic taste.
- Drain excess oil properly after frying.

1 thought on “Simple Ghila Pitha Recipe”